Trezor.io/Start – Official Setup Guide for Your Trezor Wallet
Safely Set Up Your Trezor Device with Trezor.io/Start
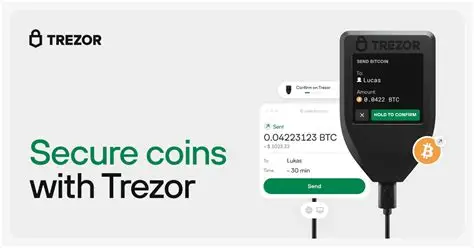
The Trezor.io/Start page is the official and secure gateway for initializing your Trezor hardware wallet. Whether you own a Trezor Model One or Trezor Model T, this portal ensures your device is properly configured, your recovery seed is safe, and your cryptocurrency remains protected from phishing and malware attacks.
Starting at Trezor.io/Start guarantees a smooth, step-by-step setup experience, giving you full control over your digital assets.
What Is Trezor.io/Start?
Trezor.io/Start is the official onboarding page for Trezor wallets, designed to guide both beginners and experienced users through the setup process. This platform ensures your device is authenticated, secure, and ready for managing cryptocurrencies.
Key functions of Trezor.io/Start include:
Downloading Trezor Suite, the official wallet management software
Verifying your Trezor device authenticity
Installing the latest firmware securely
Creating a new wallet or restoring an existing wallet
Generating and safely storing your recovery seed
Setting up a strong PIN and additional security options
Using the official page reduces the risk of falling victim to fake websites and compromised software.
Why Start at Trezor.io/Start?
Security is critical in cryptocurrency management. By using Trezor.io/Start, you can:
Ensure you download only authentic Trezor Suite software
Keep your private keys and recovery seed secure
Receive verified firmware updates
Avoid phishing attacks and malicious third-party applications
Following the official instructions guarantees that your cryptocurrency remains protected at all times.
How to Set Up Your Trezor Wallet via Trezor.io/Start
1. Visit Trezor.io/Start
Manually enter the URL in your browser to access the official setup portal safely.
2. Download Trezor Suite
Install Trezor Suite on your computer (Windows, macOS, or Linux) to manage your digital assets securely.
3. Connect Your Trezor Device
Plug your Trezor hardware wallet into your computer using the USB cable provided.
4. Install Firmware
If your device is new, follow the prompts to install the latest firmware to ensure security and compatibility.
5. Create or Restore Wallet
Generate a new wallet or restore an existing one using your recovery seed. Store your seed offline and never share it digitally.
6. Set a Strong PIN
Choose a secure PIN code to prevent unauthorized access to your device.
Benefits of Using Trezor.io/Start
Enhanced Security
Your private keys remain offline on your device, keeping your cryptocurrency safe from hacks.
Multi-Currency Support
Manage Bitcoin, Ethereum, and thousands of other supported cryptocurrencies from a single interface.
User-Friendly Setup
Trezor.io/Start offers clear, step-by-step instructions for a smooth onboarding process.
Backup & Recovery
Your recovery seed ensures your wallet can be restored if your device is lost or damaged.
Best Practices for Trezor Users
Always access Trezor.io/Start directly from your browser
Never share your recovery seed
Keep your device firmware and Trezor Suite up to date
Avoid connecting your wallet to untrusted computers
These steps ensure your cryptocurrencies remain fully secure and under your control.
Final Thoughts
Trezor.io/Start is the official and trusted starting point for anyone using a Trezor hardware wallet. Following the official setup instructions safeguards your crypto assets, enables secure transactions, and provides peace of mind while managing your digital wealth.