Trezor.io/Start – Official Guide to Setting Up Your Trezor Wallet
Secure Your Crypto Assets with Trezor.io/Start
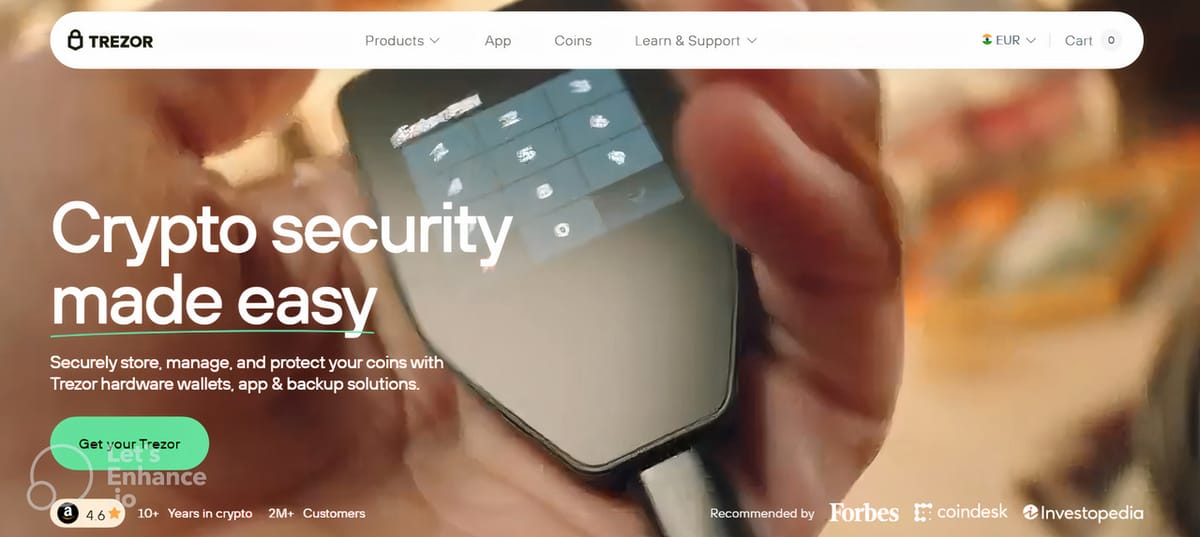
The Trezor.io/Start page is the official starting point for setting up your Trezor hardware wallet. Whether you own a Trezor Model One or Trezor Model T, this portal ensures your device is initialized safely, your recovery seed is protected, and your cryptocurrencies remain secure from online threats.
By using Trezor.io/Start, you follow the official, step-by-step setup process, giving you full control over your digital assets from the very beginning.
What Is Trezor.io/Start?
Trezor.io/Start is the official onboarding page provided by Trezor to help users configure their hardware wallets securely. It guides you through each step of the setup process, including device verification, wallet creation, and security setup.
With Trezor.io/Start, you can:
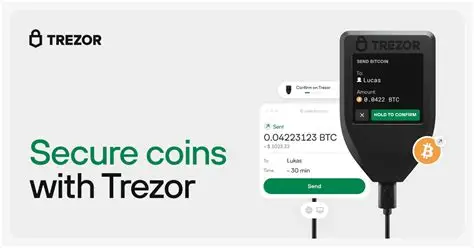
- Download Trezor Suite, the official wallet management software
- Verify the authenticity of your Trezor device
- Install the latest firmware securely
- Create or recover a wallet using your recovery seed
- Set up a strong PIN and additional security features
This ensures a smooth and secure experience while managing your cryptocurrencies.
Why Use Trezor.io/Start?
Starting your Trezor wallet setup at Trezor.io/Start guarantees security and reliability. Many users fall victim to phishing attacks when using unofficial guides or third-party websites. By following the official page, you can:
- Download authentic Trezor Suite software
- Protect your recovery seed and private keys
- Ensure secure firmware updates
- Avoid fraudulent websites or applications
Using the official page is critical to safeguarding your crypto assets.
How to Set Up Your Trezor Wallet Using Trezor.io/Start
1. Visit Trezor.io/Start
Manually type the URL in your browser to ensure you are accessing the official website.
2. Download Trezor Suite
Install Trezor Suite on your Windows, macOS, or Linux computer to manage your cryptocurrencies securely.
3. Connect Your Trezor Device
Plug your Trezor hardware wallet into your computer using the provided USB cable.
4. Install Firmware
If your device is new, follow the prompts to install the latest firmware. This ensures security and compatibility.
5. Create or Restore a Wallet
Generate a new wallet or restore an existing one using your recovery seed. Always store your recovery seed offline and securely.
6. Set a Secure PIN
Choose a strong PIN code to prevent unauthorized access to your device.
Key Benefits of Trezor.io/Start
Maximum Security
Your private keys never leave the device, ensuring full protection from hacks and malware.
Multi-Currency Support
Manage Bitcoin, Ethereum, and thousands of other supported cryptocurrencies from a single wallet.
User-Friendly Experience
Trezor.io/Start provides step-by-step instructions for both beginners and advanced users.
Backup & Recovery
Your recovery seed guarantees you can restore your wallet in case your device is lost or damaged.
Security Tips for Trezor Users
- Always access Trezor.io/Start directly from your browser
- Never share your recovery seed with anyone
- Keep your firmware and Trezor Suite updated
- Avoid connecting your device to untrusted computers
Following these tips ensures your cryptocurrencies remain safe and fully under your control.
Final Thoughts
Trezor.io/Start is the official and secure gateway to initializing and managing your Trezor hardware wallet. By following the official instructions, you protect your digital assets, enable safe transactions, and ensure a smooth crypto experience.